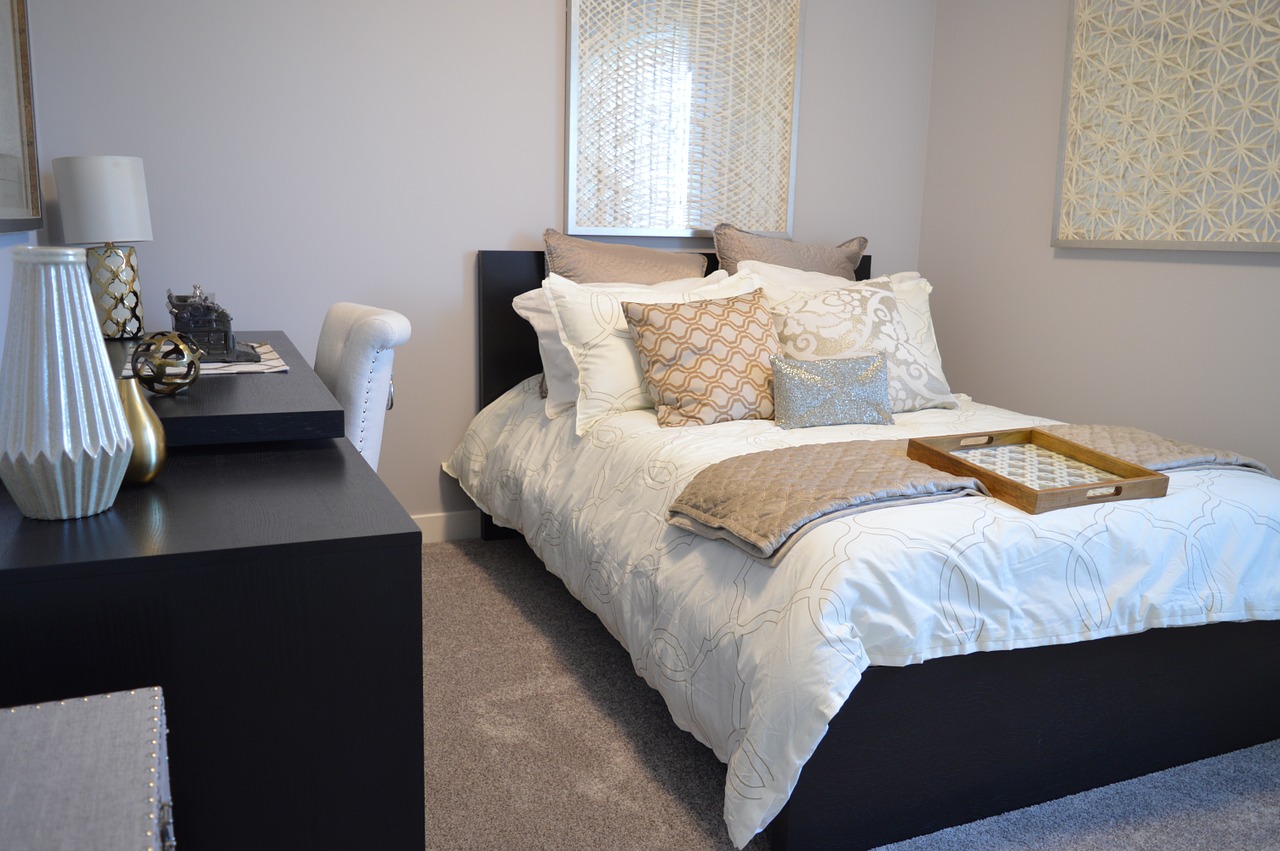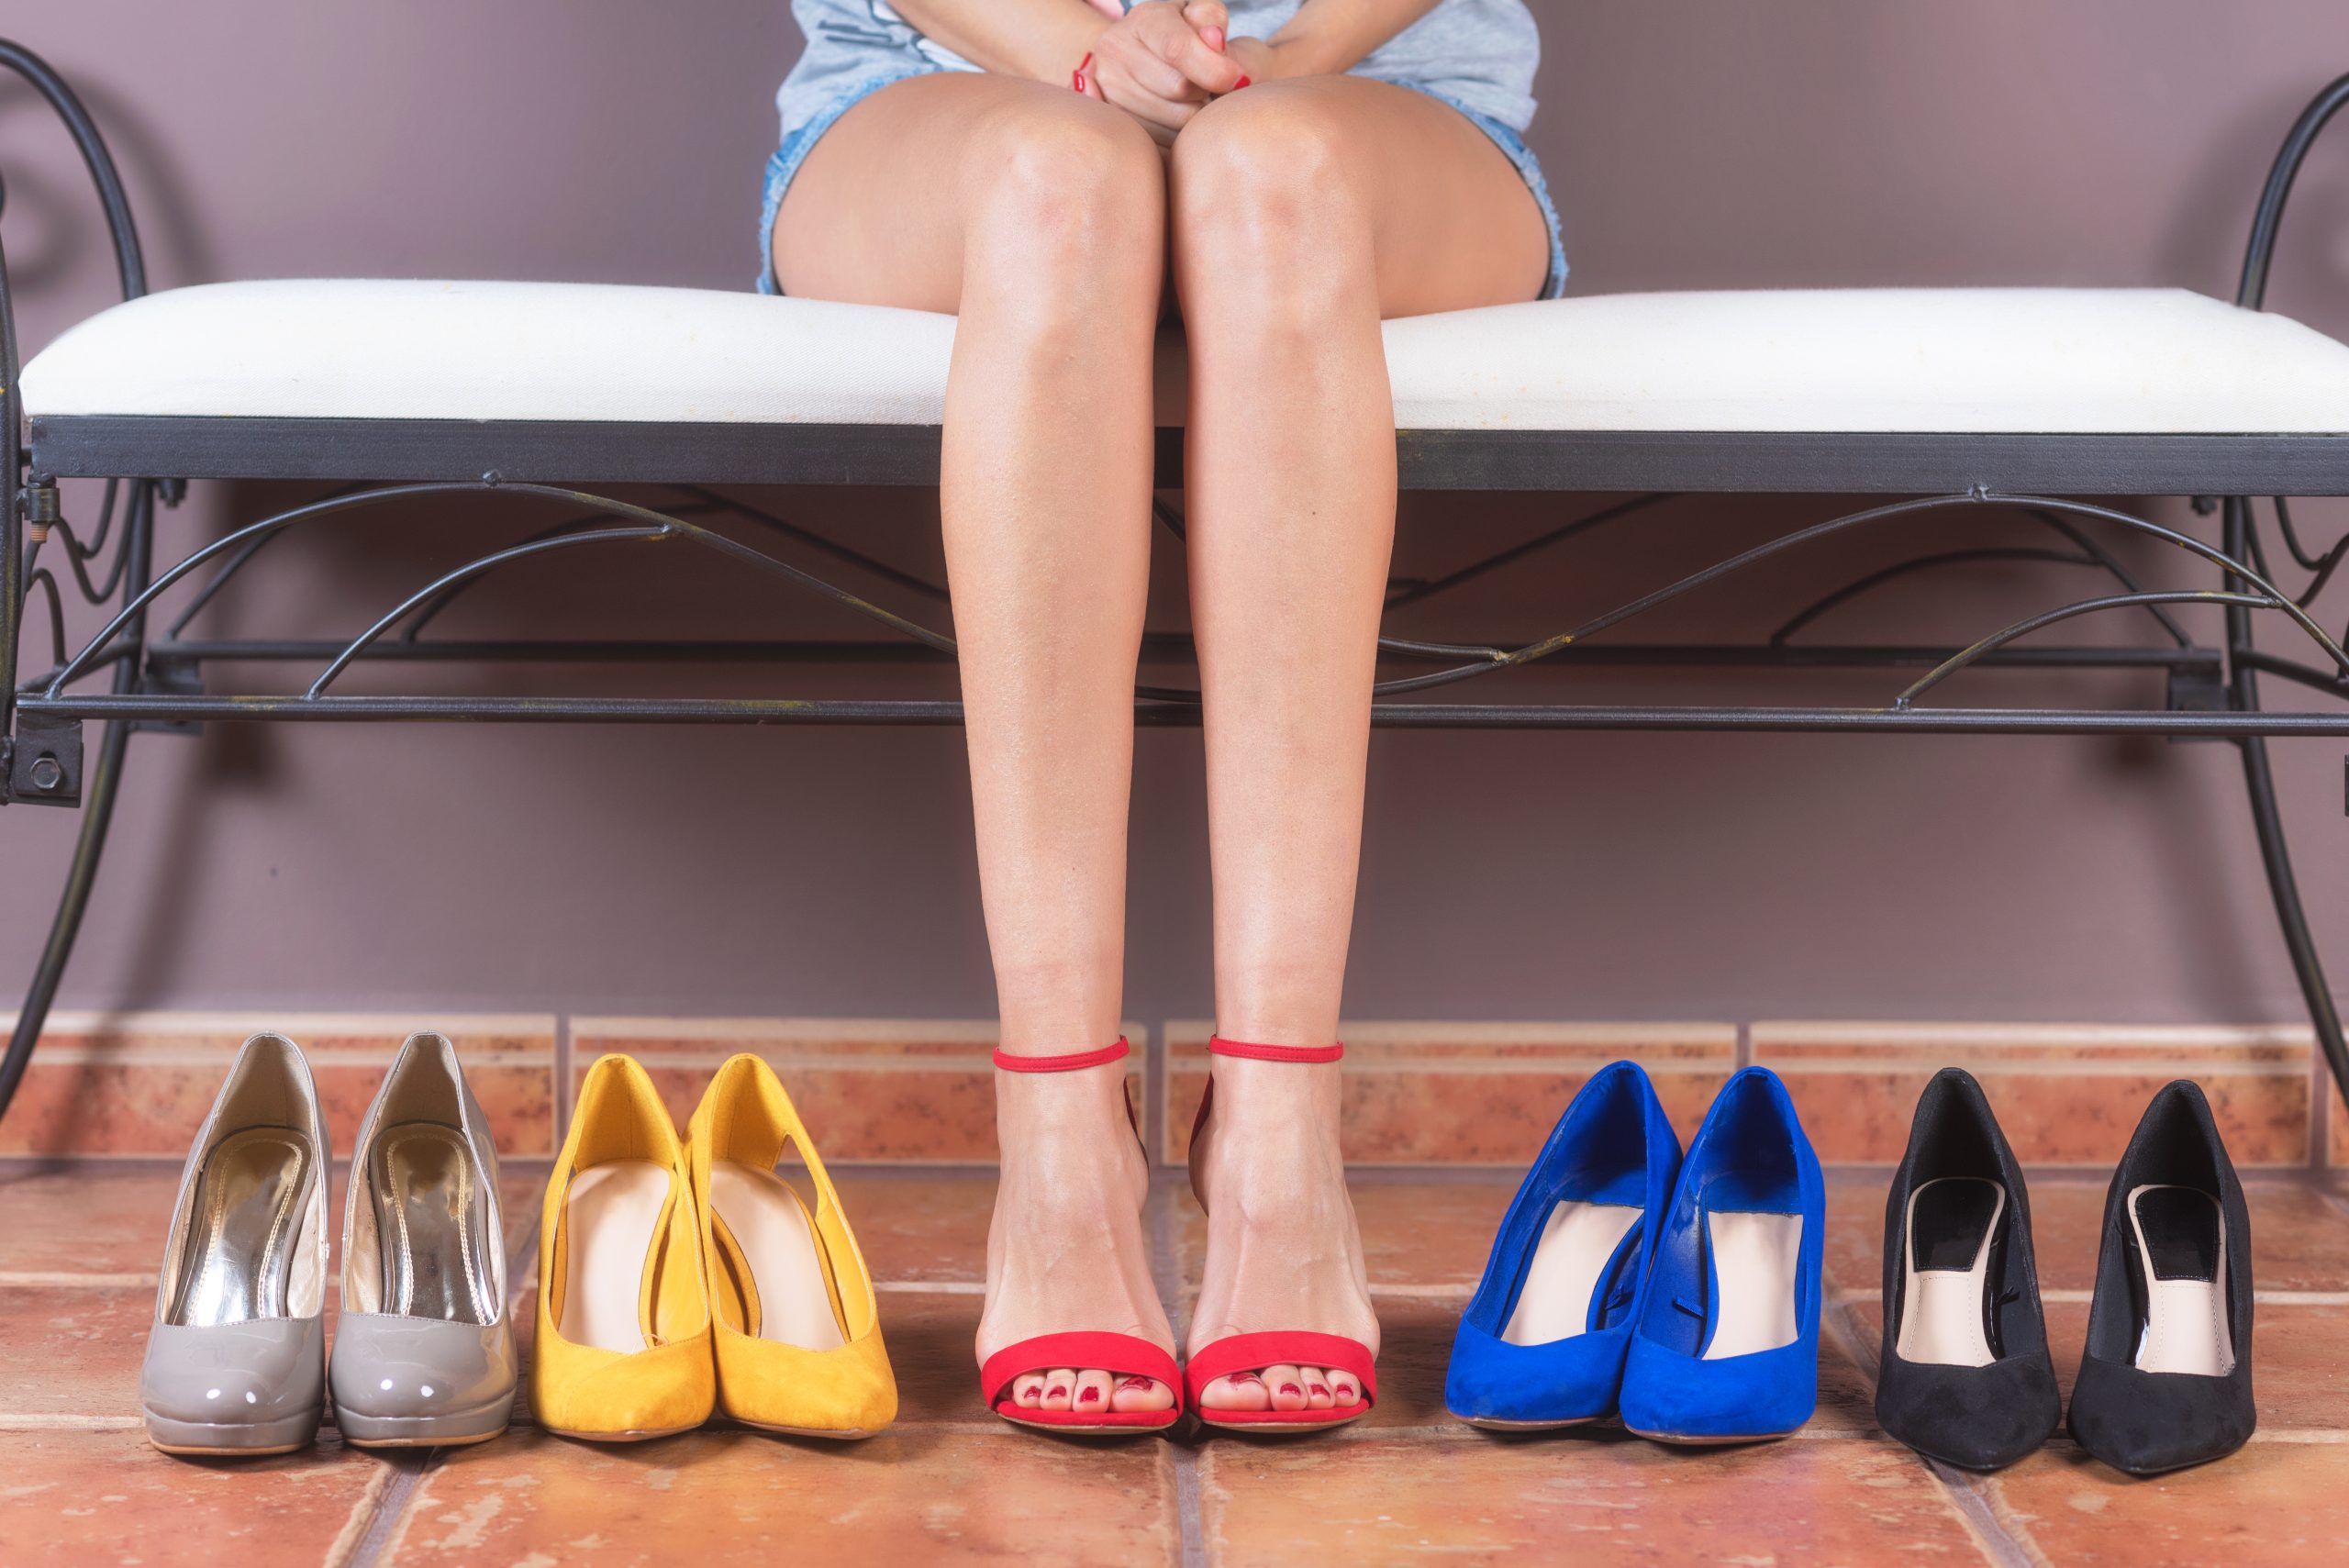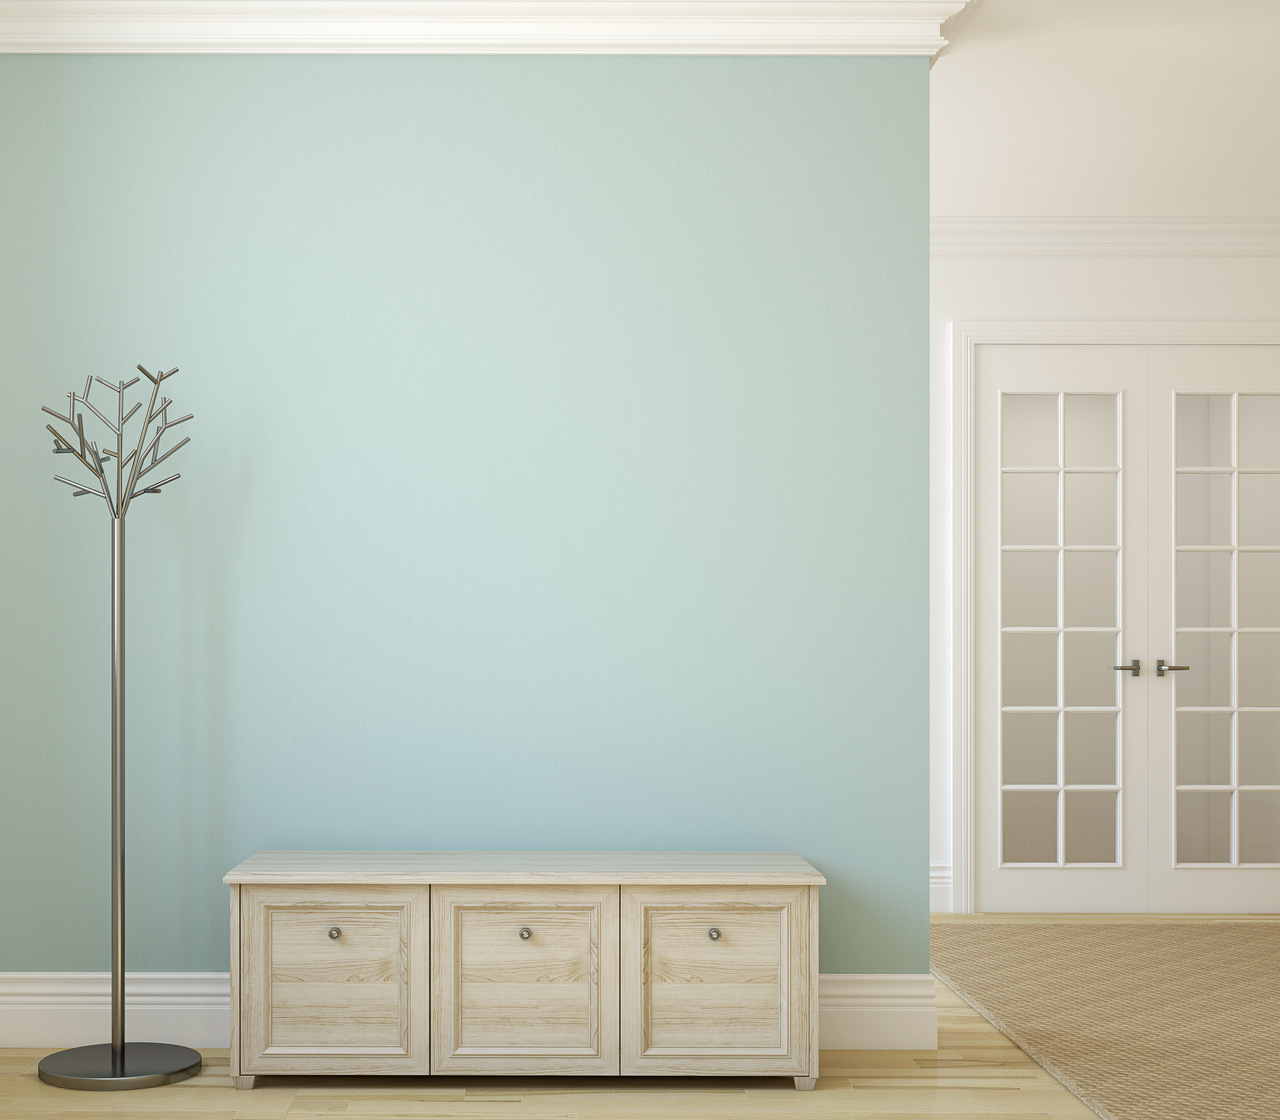
An important part of any hallway, hallway or dressing room is the shoe cabinet. Nobody likes shoes which are scattered all over the room. If we dream about a cabinet with upholstered seat, and none of them appealed to us in the store, now we can make it ourselves!
You can make a shoebox from an old crate, wooden pallets or parts of them. You can buy any of these materials at a DIY store. You can also use materials that are lying around the house. In the case of boxes or pallets, remember to clean them thoroughly before use
In this case, the necessary materials will be such as:
If the closet built into the recess is present in the apartment, then on its basis it is quite easy to make a shoe cabinet. The frame of the furniture will be a kind of frame for it. First, the frame of the closet should be attached to the wall and the arm of the closet. Before that, the boards intended for the cabinet must be properly sanded. They are often uneven and have a lot of protruding splinters. After preparing the wooden elements, they should be carefully measured. The boards must be the length of the closet frame. Beforehand, they should be protected with wood varnish so that they do not get damaged. Besides, stain will nicely emphasize the color
Prepared elements are assembled to the cabinet frame and reinforced with scantlings. On the seat you need to put filling, which can be a mat or a soft sponge. Finally, the whole thing should be covered with a selected upholstery material. The fabric should be installed with an upholstery stapler. It cannot be done by yourself. One person has to stretch the fabric and the other should nail it down. Only then the upholstery will look aesthetically pleasing. Alternatively, this can be done with a hammer and pins, but poorly chosen can spoil the whole appearance of the cabinet. Underneath, there is still a place to put shoes
In this case, it is worth using wooden slats coming from unused pallets and boxes. To make it you will need:
To begin with, sand the boards, as they must be free of any abrasions and unevenness.
To begin with, it is necessary to determine the size of the cabinet. First, it is recommended to screw together the side walls. Each side of the cabinet should consist of 2 boards and be reinforced with 4 slats. The slats should join 2 boards (cabinet sides) at the edges and in the middle. They are also supports for the shelves. After measuring the length, 4 holes should be drilled in the slats each. This is extremely important, because otherwise they will be destroyed. Then, each slat must be screwed to the boards; it is best to start from the ends and watch for equal distances between the boards, as well as right angles. In this way, you will have two sides of the shelf
Side walls should be connected with boards intended for shelves. To make them stable, you need to set them on the slats. So arranged boards need to be screwed with two screws inserted from the outside of the body. This way the cabinet will not wobble and will hold a large number of shoes. The boards should be painted with water stain and then with acrylic paint in the color of your choice. The boards exposed to contact with shoes should be varnished with a scratch-resistant wood varnish
Finally, it is necessary to create a seat. In this method, 3 boards are allocated for it, which should be nailed together. Before fixing them, it is recommended to upholster them with upholstery material. On top of the seat, you need to lay down the filler material and then put the upholstery material on top of it. It takes two people to do this. One person has to stretch the material and the other has to nail it down with a taker. The material can be rolled up under the bottom of the top so that the staples are not visible. Thus prepared seat should be attached to the shelf.