Halloween may look a little different this year, but don’t give up on preparing your pumpkin. Get creative and have some fun. Check out how to make a pumpkin for Halloween.
The first rule of pumpkin carving: do it in a place where you can afford to get messy, such as outside. Line your work surface (a solid table or the ground) with something you’ll throw away later. Parchment, newspaper, or flattened brown paper shopping bags work great here. If you are using a bag, simply cut off one side and then get rid of the base to make a large rectangle. Place a few bags on the table and you’re done
Now assemble the necessary tools. You can buy a ready-made pumpkin carving kit. You can find it at your local drugstore, supermarket or gadget store. You can also prepare some kitchen accessories. You will need a vegetable knife, a nylon ladle, a marker to draw a pattern, and a couple of large bowls – one for the seeds and one for the pulp. In addition, you’ll need a kitchen towel, a tealight type warmer and a lighter.
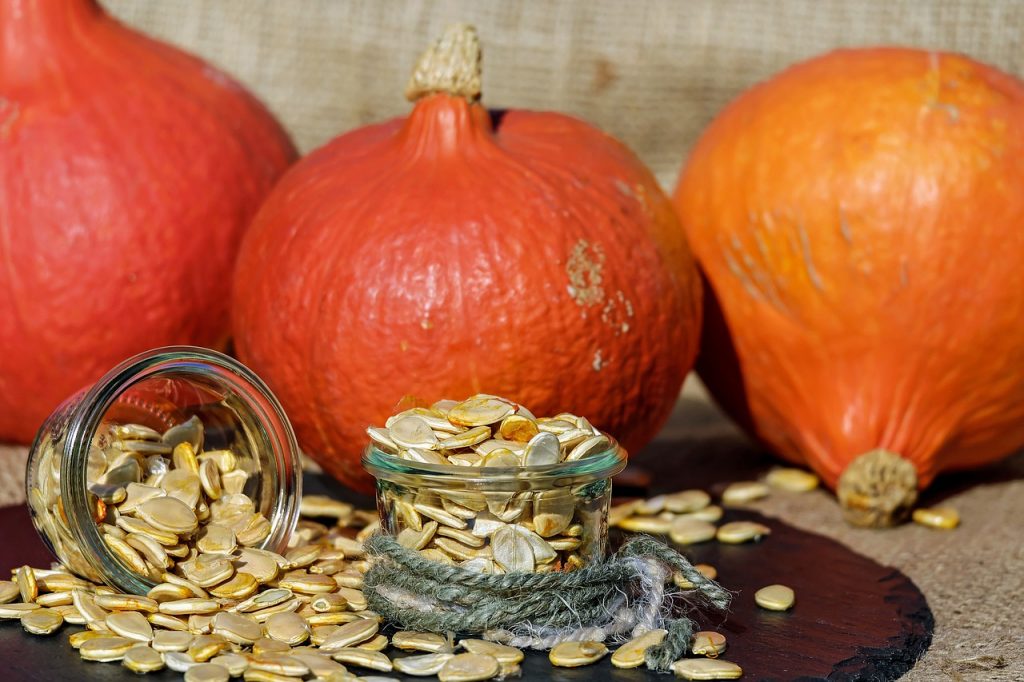
Whatever you do, save the pumpkin seeds. You can roast them later with a little olive oil and salt. The soft seeds turn into a tasty, crunchy, spicy seasonal snack. Remove them from the pumpkin with clean hands and transfer them to a bowl of water. Soak them for a while, moving them back and forth to remove the stringy pumpkin bits.

Set up your workspace and then proceed with your project. Once you’ve determined the best side of the pumpkin, use a permanent marker to sketch the eyes, nose and wide smile. Outline a circular lid around the pumpkin stem about 12-15 cm in diameter. Add a cutout at the back if you like, this will make it easier to position the pumpkin. Now cut with a thin knife (or serrated knife) along the outline. Make sure you do this at a 45 degree angle inward. This will help you put the lid on without worrying about it falling off in the process.
Remove the seeds and toss them in a bowl. Next, clean the inside of the pumpkin with a ladle or special scraper. Make sure there are no stringy bits left. Dump them into another bowl.
Wipe the outside of the pumpkin with a kitchen towel. This will make it easier and safer for you to cut it. Now make straight cuts in the pumpkin along the pattern, removing pieces and discarding them in a bowl. Scrape out any stringy bits or jagged lines with a knife. Insert a tealight type warmer into the pumpkin. Use a lighter or cigarette lighter to light it and put the lid on
While there is no such thing as the “perfect pumpkin,” there are a few things you should look out for. Check for any gouges or blemishes. True, they give a distinctive look, but they promote rotting. See if the pumpkin is soft to the touch. If it is, you better look for another one. This is a sign that the rotting process is already underway. Look for a pumpkin with a uniform color and firm flesh.
If you will be lighting the heater in the pumpkin, scrape the inside flat. This will put the light source on a stable surface. Scrape the back wall of the pumpkin as smoothly as possible, as it will then reflect the light. The optimal wall thickness is about 2.5 cm
Beginners should choose a simple, bold pattern. Once you master uncomplicated patterns, you can move on to something more difficult. Print or draw the pattern on a piece of paper. Use small scissors to cut out the areas on the paper that you want to carve the pumpkin. Then glue on the template and use a marker to outline the lines. This will help you match the paper to the round surface.
Remember that a small battery-operated flameless candle is safer than traditional candles. Sprinkle the bottom side of the lid with ground cinnamon, nutmeg or cloves. This will also help the pumpkin act as an air freshener.
To extend the life of your pumpkin, soak it for several hours in a solution of bleach and water: 1 teaspoon of bleach per 3.7 liters. Dry thoroughly, then wipe inside and out with vegetable oil or petroleum jelly to prevent drying. Also apply to trimmed edges. If the pumpkin begins to dry out, repeat the process.