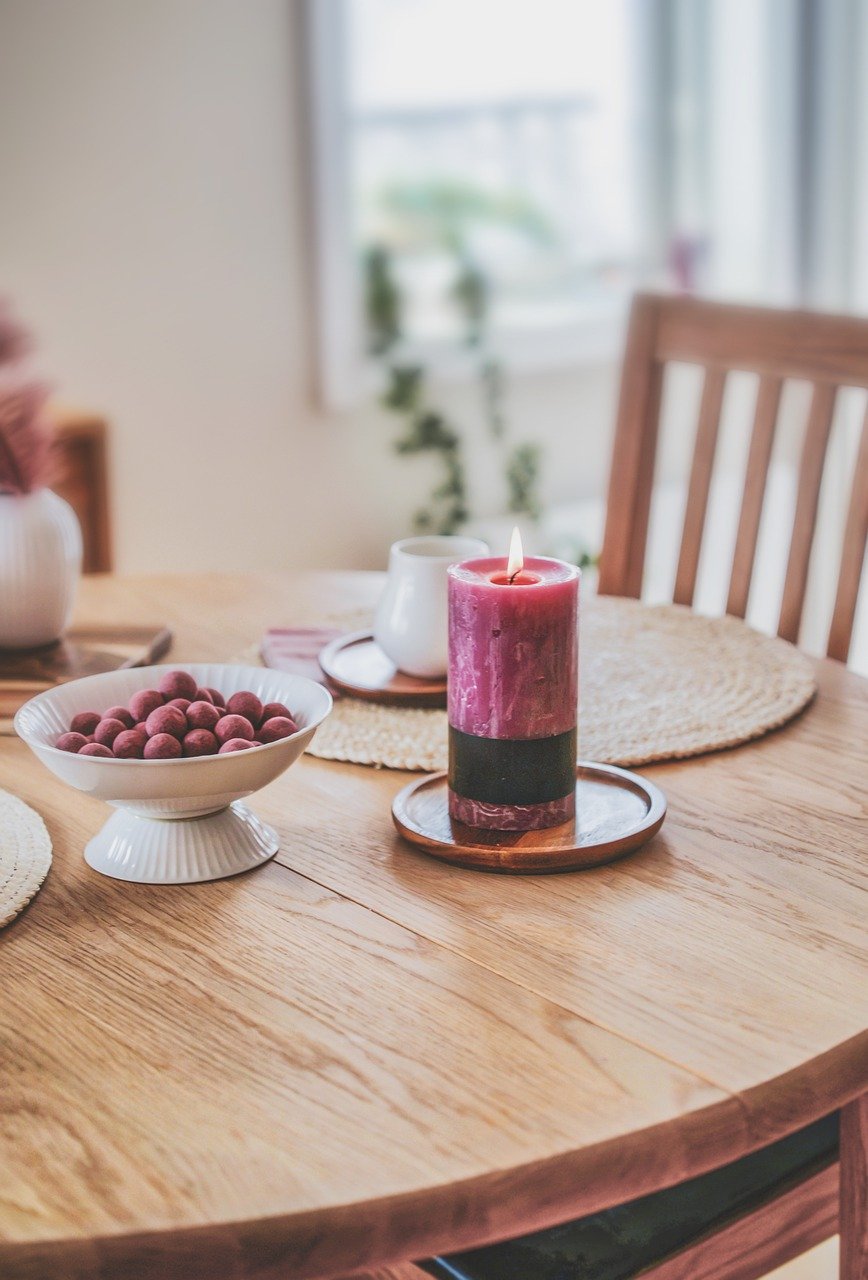
One of the best gifts are beautifully scented and decorative candles. They make a great addition to your bedroom or living room. Although there are many decorative candles available in the market, it is advisable to design them yourself using decoupage method.
Why is it worth preparing a decorative candle by yourself? First of all, hand-made gift has a unique value, you can personalize it and show your creativity. Moreover, making such a candle is not so difficult at all. You can make it using decoupage method
It is a method of decorating and embellishing objects. It consists in gluing paper or napkins to any objects. It is also called napkin method. As a result we can get patterns which resemble those painted with a brush. What is more, decoupage method does not require any special artistic skills and that is why it is worth using. This technique is also used to design candles
The first step is to prepare suitable accessories, thanks to which we can skilfully create our own decoupage candle. For this we will need
If we have already chosen our napkin, we should properly prepare it for melting into a candle. First of all we need to separate its layers. Each napkin usually consists of three layers, but we only need one – the top one, which contains the motif we’re interested in. After selecting this layer, we can move on to tearing out the motif. At this point, we use a brush and water. On the napkin we mark the borders of the tearing, that is, the motif from the napkin and separate it from the rest. By using a brush with water you can avoid scratching the motif and make sure that the borders of the napkin blend beautifully into the background.
Once you have prepared the right parts of the napkin you can place them on the candle. To make sure that the motif will stay on the candle you can put a drop of water on the edge of the napkin. This will prevent the motif from slipping off at this stage of candle making. Then coat the candle with breakfast paper so that the coated side is on the outside. In simple terms, the rough side should touch the candle. At this point you can tape the ends of the paper together so that the paper does not overlap the napkin motif but still adheres well to the candle. It is a good idea not to cut the paper to the height of the candle. If it is longer than the candle, we will get an easy to rotate tube, which will facilitate further work
At the last stage we will need a hair dryer. Do not set too strong gusts on the dryer, because they can deform our candle. First we heat the whole candle – hold the dryer in one place for 15 seconds and move to the next place. At first we won’t see any effect, but as we do more “laps” we’ll start to notice effects in the form of greasy, blending spots. Where you notice the napkin motif breaking through, finish heating. As soon as the whole motive is through the paper and no borders of the napkin are visible, we can safely finish the work. Leave the candle to cool for a few minutes and slowly peel off the paper. Candle decoupage made!